Editor's Note
It’s never too late for last minute cookies, which is why we’re revisiting this collection of contributor-created holiday sweets from the Holiday Issue of Life & Thyme. To gift, to share, or to plate for Santa himself, each recipe is designed to help spread cheer, and to celebrate the holiday season (of cookies).
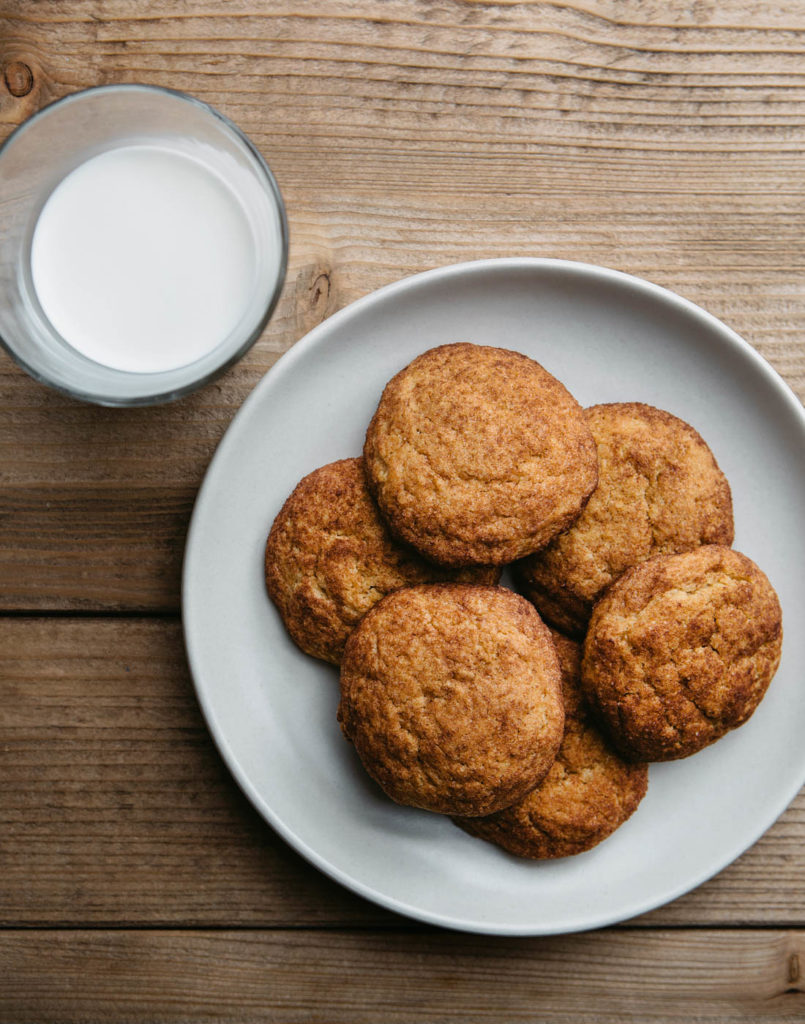
Pumpkin Snickerdoodles
Recipe by Nicole Gulotta — Photography by Josh Telles
Something about the combination of sugar’s sweetness and slight crunch, blended with cinnamon’s warmth, attracted me early on.
Many of my childhood breakfasts consisted of a craggy, toasted English muffin slathered with butter and sprinkled with a dusting of sugar and dash of cinnamon. I often chose sugar-covered donuts after soccer games, have devoured the pairing on muffins at Healdsburg’s Downtown Bakery & Creamery and on Sprinkles cupcakes in Beverly Hills, and most recently, discovered the heavenly mix of cinnamon and sugar scattered on Sqirl’s cardamom tea cakes in Los Angeles’ Silver Lake neighborhood.
It’s no surprise, then, that one of my favorite cookies has always been a snickerdoodle. Tender on the inside, crisp on the edge, and rolled in cinnamon and sugar before baking, it’s become something of a tradition to make snickerdoodles during the holidays.
For a long time, I relied on a classic Martha Stewart recipe, but in recent years have experimented with putting a seasonal spin on my favorite childhood cookie. The version I make now adds pumpkin puree, brown sugar, ginger, cloves and nutmeg to the batter for a decidedly adult flavor still reminiscent of the original cookie I came to love growing up.
Serves: 18 to 20 3-inch cookies
For the cookies:
- 2 ¾ cups all-purpose flour
- 2 teaspoons cream of tartar
- ½ teaspoon baking soda
- ½ teaspoon cinnamon
- ½ teaspoon ground ginger
- ¼ teaspoon ground cloves
- ¼ teaspoon nutmeg
- ¼ teaspoon salt
- 2 sticks (16 tablespoons) unsalted butter, room temperature
- ¾ cup granulated sugar
- ¾ cup brown sugar
- 1 large egg
- ¼ cup pumpkin puree
For the topping:
- ¼ cup granulated sugar
- 2 tablespoons cinnamon
Method:
Preheat the oven to 400° and line a baking sheet with parchment paper.
Sift together the flour, cream of tartar, baking soda, spices and salt. In the bowl of a standing mixer fitted with a paddle attachment, add the butter and both sugars. Beat on medium speed until light and fluffy, about 2 minutes. Scrape down the sides of the bowl.
On low speed, add the egg, followed by the pumpkin. Beat until well combined and scrape down the bowl once more. Continuing on low speed, gently add the dry ingredients and beat until the dough just comes together and no flour remains.
In a small bowl, combine the remaining cinnamon and sugar. Portion dough with an ice cream scoop, forming balls with the palm of your hand and rolling each cookie in the cinnamon and sugar before placing 2 inches apart on the baking sheet.
Bake for 10 to 11 minutes, or until the cookies are set in the center, the tops begin to crack, and your kitchen smells like the holiday season. Let cool for 5 minutes before transferring to a wire rack to cool completely.
Oreshki
Recipe by Jessica Gilgurd — Photography by Josh Telles
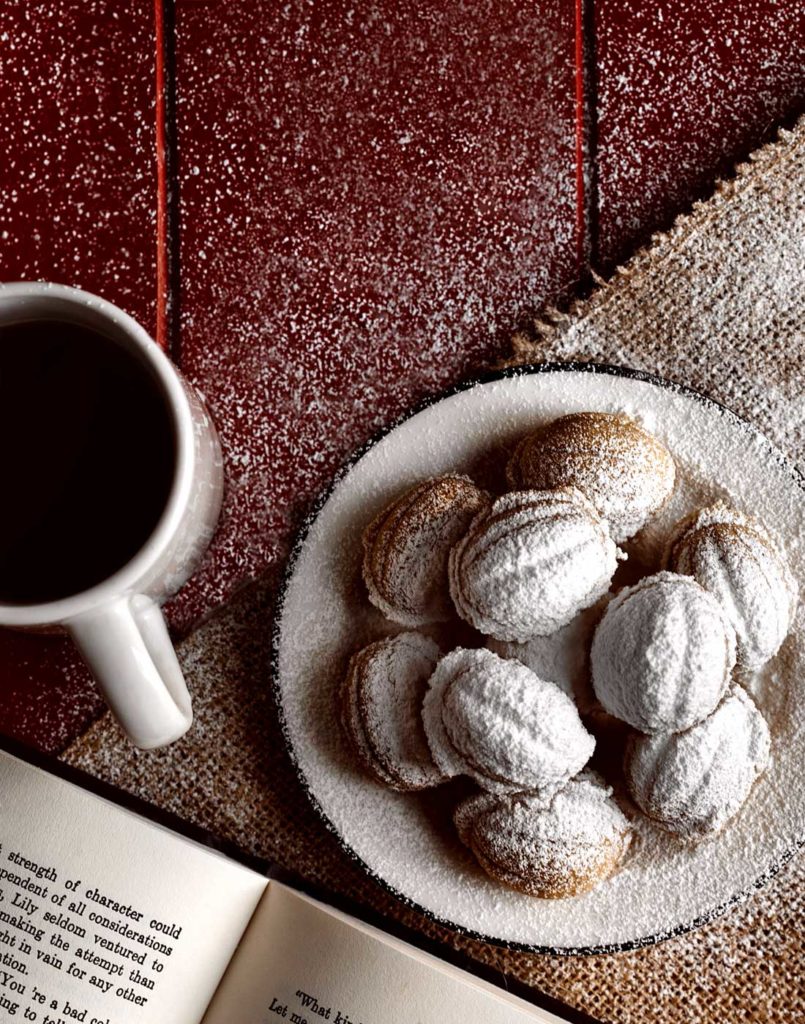
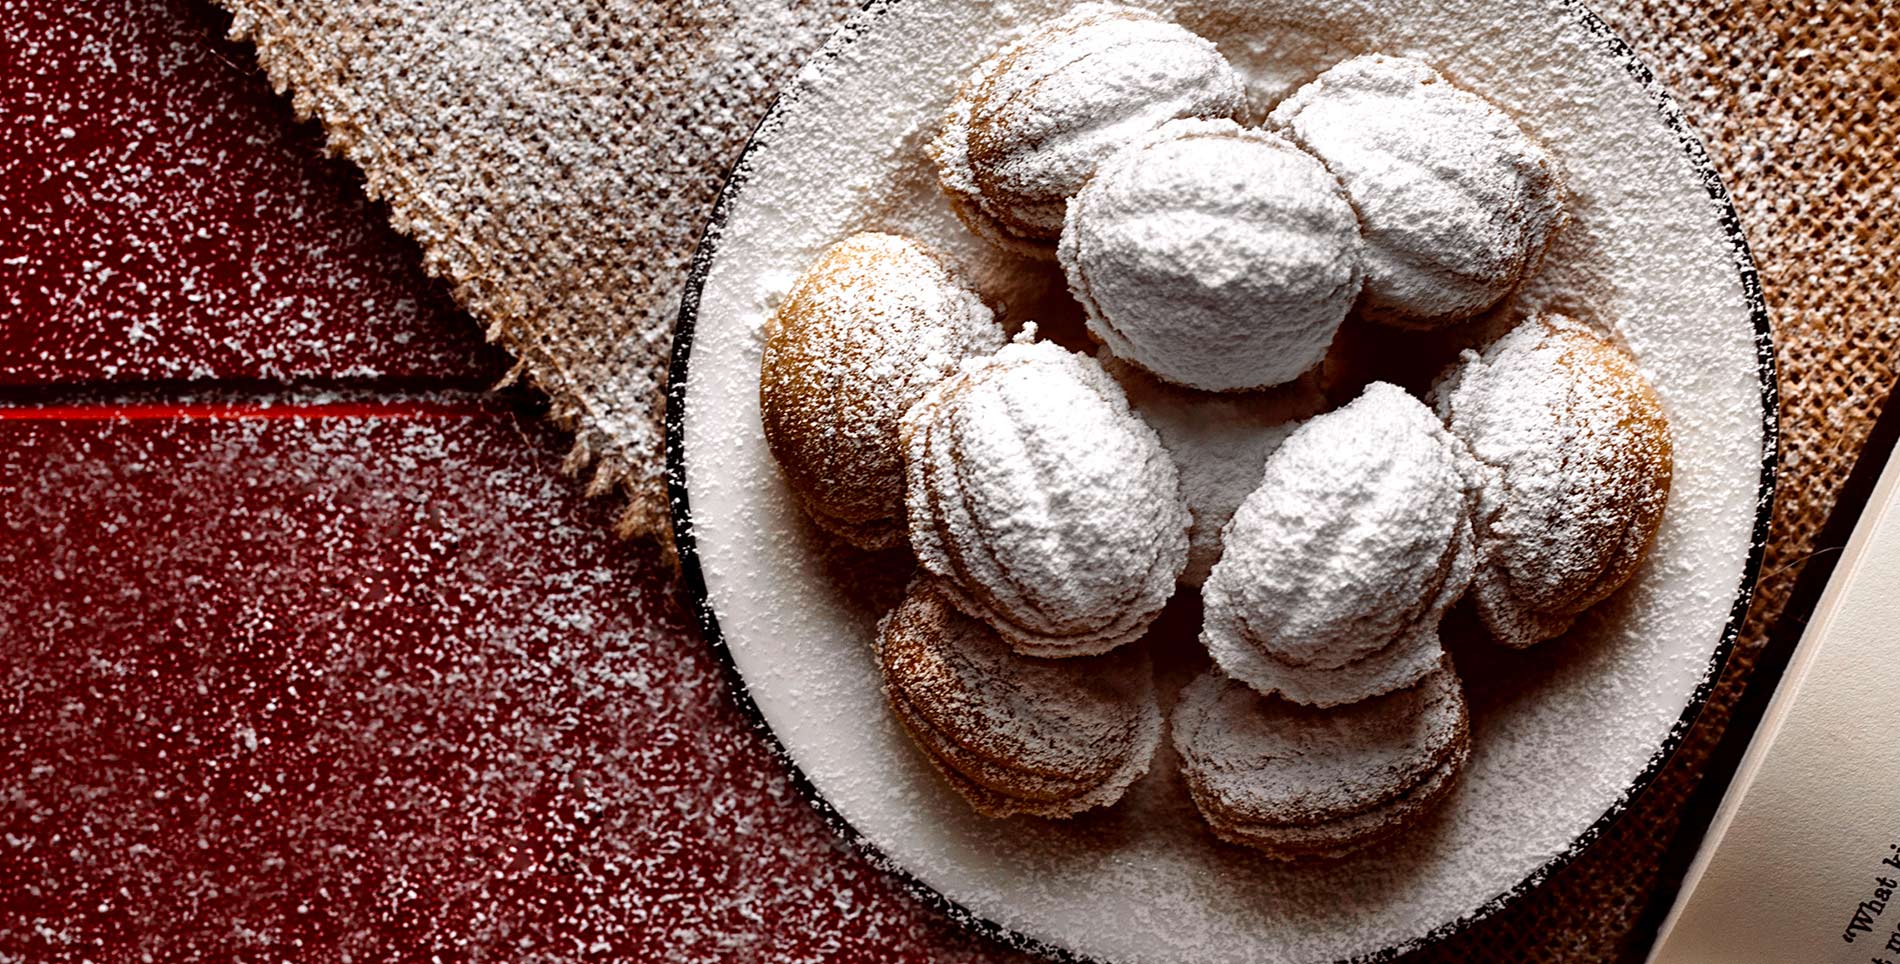
There are things in life that carry with them a flood of memories, whether a family heirloom cooking pot, a certain smell that elicits nostalgia, or a taste that never left the tongue. Such is true with the cookies of my childhood––oreshki––a crunchy and buttery cookie that melts in your mouth, filled with a luscious dulce de leche cream. These cookies get their name, which means “nuts,” from the walnut shape they are baked into. Oreshki regularly make an appearance on the dessert table throughout the year, but especially around the holidays and times of celebration.
Note: oreshnitsa pans can be easily purchased online.
Serves: 16 cookies
For the shell:
- 2 sticks softened butter
- 3 egg yolks
- 1 cup powdered sugar
- 1 teaspoon baking soda
- ¼ teaspoon salt
- 2 ½ cups sifted all-purpose flour
For the filling:
- 1 can sweetened condensed milk
- 1 stick softened butter
Method:
In a stand mixer, beat butter and powdered sugar together until evenly combined. Add in egg yolks 1 at a time.
Sift together salt, flour and baking soda. Add the dry ingredients into the wet ingredients in small increments.
The dough is ready when it comes together in a nice smooth ball. Roll the dough into 1-inch balls and place in your oreshnitsa mold. Push the dough out into the mold so it covers the entire area.
Bake at 350° for about 10 minutes until the cookies are golden, but not brown. Let the cookies fully cool before popping them out of their molds.
To make the filling boil the sweetened condensed milk in the can in a pot filled with water so the can is fully submerged for about 2 ½ hours.
Remove your can from the water and allow it to come to room temperature. In your stand mixer beat your stick of softened butter until it is smooth. Add in the dulce de leche and beat until it becomes a mousse-like consistency. Take your oreshki halves and fill them with enough of your dulce de leche filling so the halves glue together.
Top with a dusting of powdered sugar and enjoy!
Pizzelles
Recipe by Gianna Hughes — Photography by Antonio Diaz
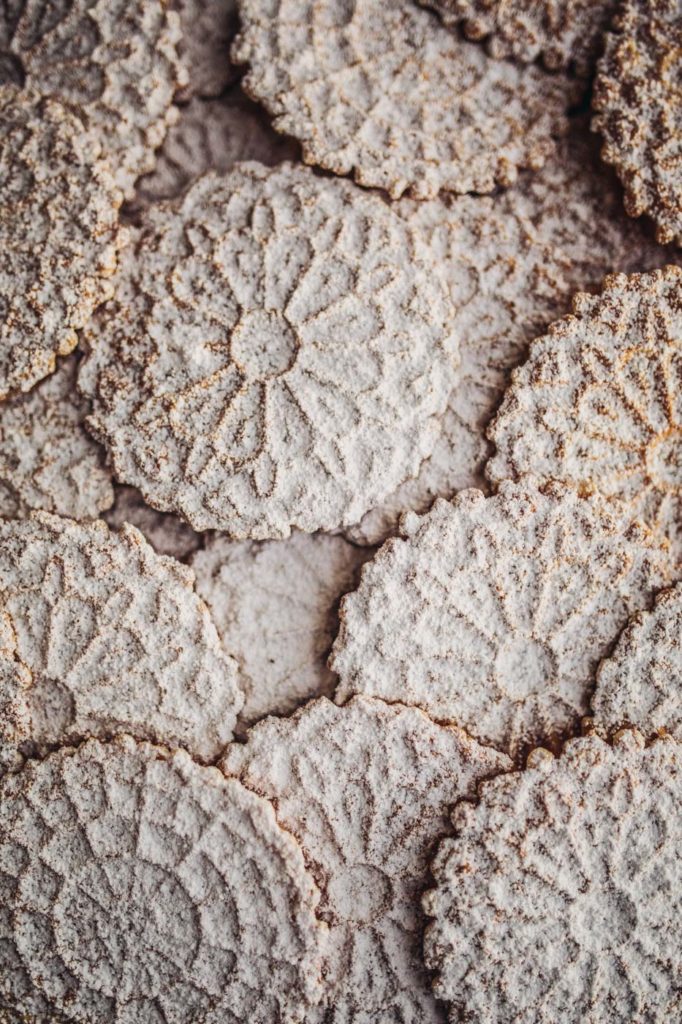
Winter subtly arrives in Southern California. The sun still shines, but the air cools and leaves begin to fall from the trees leaving their branches barren. In a way, we still have to force seasons here. Rather than being centered around weather, seasons are based on tradition. We wear sweaters (when we can), decorate our homes in red and green, and we bake. Growing up, we always knew the holidays were near when our mother would bring out her pizzelle iron from the cabinet. She’d gather flour and eggs on the counter, and the kids would crowd around, eager for the traditional Italian cookies—topped with copious amounts of powdered sugar—that we make each year to celebrate Christmas.
Serves: 6-8
- 3 ½ cups of flour
- 6 eggs
- 2 sticks of margarine (or butter)
- 4 teaspoons of baking powder
- 1 tablespoon of anise extract
- 1 cup of sugar
Method:
Note: pizzelle irons are readily available on Amazon or most kitchen supply stores.
Preheat pizzelle iron. Fully melt margarine and mix all ingredients in one bowl. Dollop a spoonful of the mixture onto the center of the iron and press down for 2 minutes or until golden brown. Remove cookie and let cool. Add powdered sugar on top to taste.
Ciambelline al Vino
Recipe by Stef Ferrari — Photography by Antonio Diaz
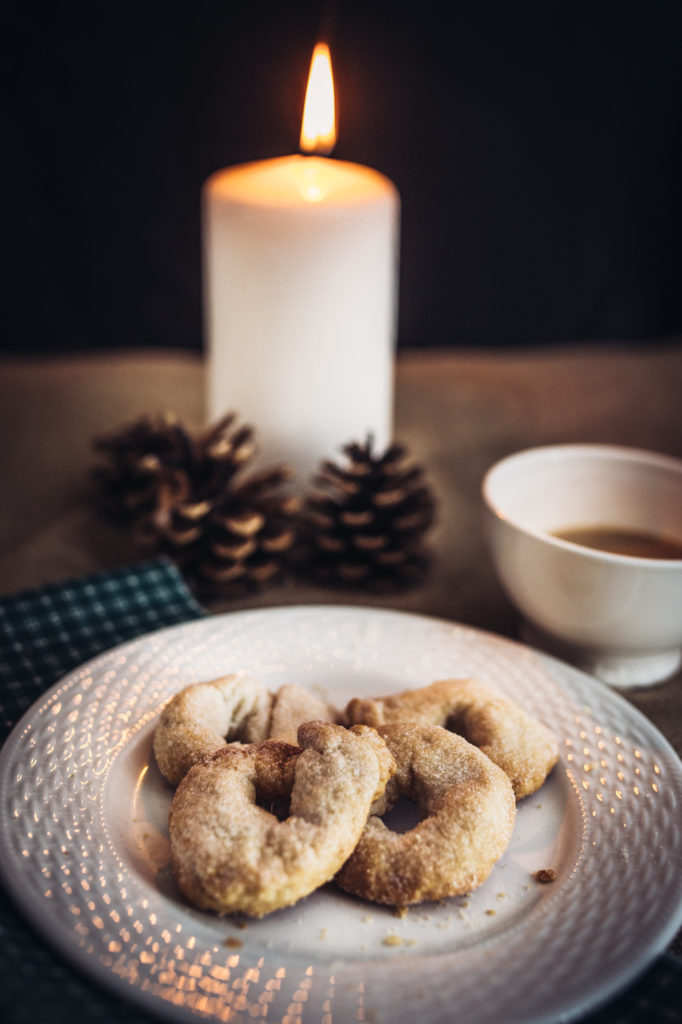
These basic cookies have always been a bit polarizing in my family; there was always a strong love it or hate it mentality. As a kid, I was in the hate-it camp, but as an adult I fall heavily on the former side. These crunchy rings are not particularly sweet, and the anise flavor that comes standard with the dosing of sambuca (which is not a classic ingredient for the cookie) is an acquired taste that might turn off younger palates––but it’s one I can hardly get enough of now.
Regardless of which side I pledged my allegiance, I always enjoyed the act of making them. Nonni would let me sidle up beside her and hand-shape every ring, rolling the dough between my small palms and dredging each circle through a sand dune of snow-white sugar.
These biscuits are highly customizable as well. Swap dry red wine for white, limoncello or Luxardo for sambuca if you’re not feeling that licoricey flavor, or add anise seeds for a more traditionally Italian approach.
Serve with strong espresso or a digestif for dunking, and drift off into your holiday happy place.
Serves: 32-36 biscuits
- 1 cup dry white wine
- ¼ cup sambuca
- 1 cup sugar
- 1 cup good quality olive oil
- 3 to 3 ¼ cups all-purpose flour
- 4 tablespoons sugar, for dredging
- ¼ cup anise seeds (optional)
Method:
In the bowl of a standing mixer fitted with a paddle attachment, combine wine, sambuca, sugar, olive oil. Incrementally add flour on a low speed.
Once well-integrated, the dough should come together and be elastic and slightly sticky. Separate small pieces of dough and roll into ropes, then shape into circles.
Dredge each biscuit in sugar, coating the top. Arrange on a cookie sheet and bake for 20 minutes, until slightly golden. The cookies will be crisp once cooled.



Our comments section is for members only.
Join today to gain exclusive access.