


From the ![]() Pizza Issue
Pizza Issue
There are few things in this world that bring greater pleasure than pizza. A disc (or square, or triangle) of dough topped with cheese, meat and vegetables is such a simple and satisfying way to eat that it has endured for centuries. Yet for all its simplicity, pizza is a product with myriad interpretations, almost all of which routinely mystify the home cook. It is this writer’s sincere hope to clear some of the fog surrounding that process through a discussion of interpretation and technique.
I came to pizzamaking for the most practical of reasons: I didn’t want to pay other people for pizza anymore. When it comes to readily accessible, less technique-driven food, I have almost always assumed that I could learn to make a better version at home than I could buy from someone else. Pizza was no exception. So I did what any good home cook would do and bought a book. In this case, it was Flour, Water, Salt, Yeast by Ken Forkish.
The following is a very condensed version of the basic information regarding baker’s math and sourdough cultures contained in that book (as well as countless other tomes), along with information I have gleaned from the very generous baking community (both online and in person).
First, let’s cover the most indispensable of skills: baker’s math. Baker’s math is essentially a set of rules through which one can scale a recipe up or down at will. Everything in a formula is weighed in grams. That’s right, you’ll need to invest in a kitchen scale (a digital thermometer is a good idea too). Every weight in that formula is expressed as a percentage relative to the total flour in that recipe. In other words, if my formula has 100 grams of total flour and 80 grams of total water, water is expressed as 80% and flour as 100%. If I wanted to scale that formula up five times, I would simply multiply the total flour by 5, giving me 500 grams of flour. Since I know that the formula calls for 80% water, I would multiply 500 by .8 and end up with 400 grams of water in my scaled up formula. All other elements of a formula are expressed in the same fashion, be they sugar, salt, butter, etcetera.
Sourdough
Now comes the fun part: sourdough. Using a sourdough culture to give rise to dough is among the oldest forms of fermentation. Taken in that context, it is far less daunting a topic than most would have you believe. At bottom, it is a way to use what’s around you to give life to your bread and pizza, rather than purchasing commercial yeast to do the same. It is helpful to think of a sourdough culture as an organism; you must feed it and care for it in order for it to be healthy and well-behaved. Once a day will generally do, but I find it best to feed it twice a day if possible (once in the morning, and once in the evening).
A sourdough culture is essentially a colony of naturally-occuring yeast and bacteria for which you are creating a hospitable environment with flour and water. In order to create your own, use the freshest whole grain, stone-milled flour you can find, mix it with water, and leave it in a corner for a while. Once you see signs of life (i.e. the characteristic rise born of carbon dioxide from fermentation trapped inside the paste), discard a chunk of the paste you’ve created, add more flour and water, and continue that process repeatedly.
Most of the issues people have with maintaining sourdough cultures boil down to lack of care. Either the culture is not regularly fed, left in an area that is too cold, or hasn’t been given time to adequately ferment before being used or refed. At the end of this article, you will find a process for building your own sourdough starter developed by Ian Lowe (@apieceofbread on Instagram) that I’ve used repeatedly with great success.
In terms of maintenance, I use a sourdough culture that is equal parts water and flour by weight. This is called a “liquid” culture. Using a liquid culture makes weighing ingredients simple and intuitive and it’s easy to mix by hand. I feed it twice daily to ensure that it doesn’t get too sour, and is ready and active when I need it. There are as many ways to feed and use a starter as there are sourdough bakers, so I will simply give you my method for ease. Bear in mind, these feeds are kept intentionally small as any more would generally be a waste of flour for a home baker, given the volume of dough that is generally needed.
9 a.m. Feed:
- Take 50 grams of well-fermented starter dough from previous feed (bubbly, fallen and pleasantly sour)
- Add 100 grams water and 100 grams flour
- Mix thoroughly with the handle of a wooden spoon until fully incorporated
- Leave in a warm spot. Ideally, your starter will always be in an environment that is between 72 to 82℉
9 p.m. Feed:
- Take 50 grams of well-fermented starter dough from previous feed (bubbly, fallen and pleasantly sour)
- Add 100 grams water and 100 grams flour
- Mix thoroughly with the handle of a wooden spoon until fully incorporated
- Leave in a warm spot. Ideally, your starter will always be in an environment that is between 72 to 82℉
The first decision that must be made is the method by which you want to bake your pizza. Do you want to bake a freeform pizza on a stone in your home oven? Or do you want to invest in a separate oven, designed specifically for making pizza?
If you want to bake on a stone in your home oven, I recommend The Baking Steel. It is a ⅜” piece of steel with a flat side for pizza and channel cut in the opposite side so it can be placed over two burners on your stovetop and used as a griddle. It is very heavy, and it is very good at what it does. If you want to buy a specialized piece of equipment, the Roccbox is a popular and effective outdoor-only option, and the Breville Pizzaiolo Oven is the best indoor option that I’ve found. That said, both are quite pricey and highly specialized, so let’s focus on using The Baking Steel or a stone.
Determine where the broiler is located in your oven. If it’s on the roof of the oven, then you want to place your steel in the upper third of the oven. If the broiler is under the floor of your oven, then you’ll want to place your steel as close to the floor of the oven as possible. After you’ve determined the proper placement of your steel, crank your oven up as hot as it will go (ideally hotter than 500℉) and give it at least 45 minutes to preheat.
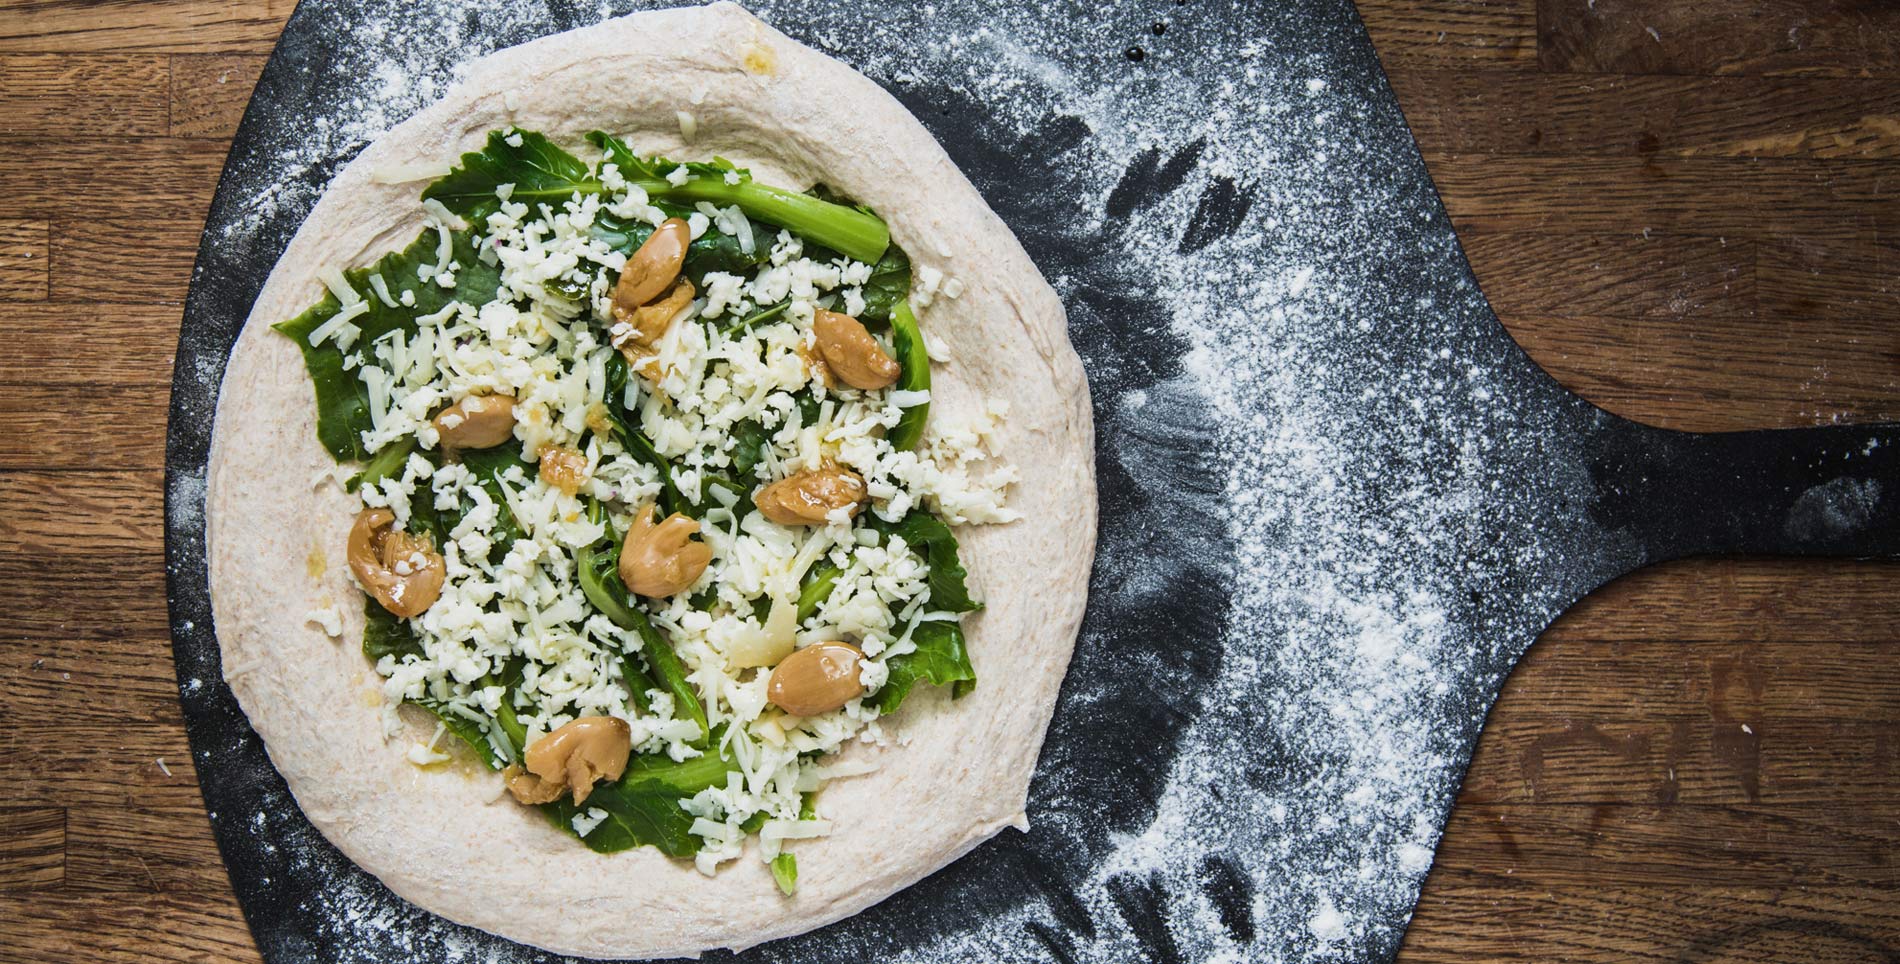
Descriptions of how to shape pizza can be found in tutorial videos online. Make sure to have a peel (a flat, slick surface with a handle attached) to load your pizza onto the hot steel, and dust that peel liberally with flour before you start shaping your pizza. When making a freeform pizza, it is also important not to overtop your pizza. Overtopping can lead to the pizza catching on your peel when loading and ending up on your oven door. Provided you manage to get the pizza successfully into the oven, overtopping can lead to a limp, soggy pizza that you have to eat with a fork and knife.
Assuming your oven gets over 500℉ , I like to cook my pies for 3 to 4 minutes on the steel. If you have a broiler on the roof of your oven, switch your oven to broil after those 3 to 4 minutes. Once the broiler turns on, it’ll take another minute or so to get some beautiful char on your crust and cheese. Just be sure to watch carefully and turn the pizza if necessary to even out the browning. If your broiler is under the floor of your oven, then use your peel to remove your pie from the steel after 3 to 4 minutes and place the pizza directly beneath the broiler for 30 to 60 seconds until the top of the pizza reaches your desired level of char.
Getting Starter’d
Now that your oven is ready to go we can talk about dough production, beginning with creating your own sourdough culture. The following method was provided by Ian Lowe of Apiece bakery in Tasmania and is reproduced here (with some minor alterations) with his permission:
Find the freshest whole grain, stone-milled flour you can.
Step 1: Mix 100 grams whole grain flour with 200 grams of 100℉ water. Let stand covered in a warm spot for 24 hours.
Step 2: After 24 hours, add an additional 100 grams of whole grain flour. Let stand covered in a warm spot for 24 hours.
Step 3: After 24 hours, take 50 grams of the dough from Step 2 (you may discard the rest) and mix with 100 grams whole grain flour and 100 grams 90℉ water. Let stand covered in a warm spot for 24 hours.
Repeat Step 3 at least 2 more times (or as many as 4) until your culture rises and falls at reliable intervals and smells pleasantly alcoholic and sour. Once your culture is reliable, follow the morning/evening feeding schedule described earlier in the article for best results.


Preserving Your Starter
There will be times when you have to leave your culture for days at a time. In these cases, you can dry out your starter and reconstitute it later. Simply let it ferment for 24 hours until it’s fairly soupy. Then, place a sheet of parchment on a half baking sheet, pour your starter onto the sheet and spread it thin with an offset spatula. Let it sit until it reaches a completely dry, crackery consistency, then break it into chunks and place in an airtight container until you return home. Then do the following:
Step 1: Take 100 grams of dry starter and let stand in 200 grams of 100℉ water until mostly dissolved. Mash with a fork to make sure the mixture becomes homogeneous. Mix in 100 grams of whole grain flour and let stand for 24 hours.
Step 2: After 24 hours, take 50 grams of the dough from Step 1 (you may discard the rest) and mix with 100 grams whole grain flour and 100 grams 90℉ water. Let stand in a warm spot for 24 hours.
After Step 2, follow the morning/evening feeding schedule described earlier in the article for best results.

Freeform Sourdough Pizza Method
The following is meant to produce a dough slightly stiffer than the usual artisanal bread dough so that it can be shaped into freeform discs with relative ease.
Equipment:
- Baking steel or pizza stone
- Baking sheet
- Non-stick spray
- Dough knife or bench scraper
- Bowl scraper
- Smallish mixing bowl
- Plastic wrap
- Kitchen shears or pizza wheel (to cut slices)
- Kitchen scale
Formula:
- 90% bread flour (preferably King Arthur or Central Milling)
- 10% whole grain flour (all from your starter)
- 65% water (tap is fine if it’s okay to drink)
- 1.8% fine sea salt
Measurements to make two 275-gram dough balls (10-11” pizzas):
550 grams dough / 166.8% = formula multiplier of 3.3
- 90 x 3.3 = 297 grams bread flour
- 10 x 3.3 = 33 grams whole grain flour
- 65 x 3.3 = 214 grams 90℉ water (33 grams from starter)
- 1.8 x 3.3 = 6 grams salt
The above is an example of using baker’s math to scale a formula to your liking. You simply add all the percentages in the formula to reach a total of 166.8. You then divide the total desired dough weight (in this case 2 x 275g = 550g) by that figure. The number you get (the formula multiplier) is then multiplied by the percentage for each ingredient in the formula to reach the total weight of each ingredient necessary to make your desired amount of dough.
Step 1: Mix Your Starter:
Since we use whole grain flour to maintain our starter, all the whole grain flour for this formula will come from our starter. Since we need 33 grams of whole grain flour and our starter is equal parts flour and water, that means we need 66 grams of total starter. Of course, we want to produce more starter than we need for this formula so we have some left over to perpetuate our culture in the method described in the article above. If you are making a larger volume of dough, you will need to ensure that you are producing adequate starter. Determine the necessary amount of starter and use the method below to find your formula multiplier.
Starter build formula:
150% well-fermented starter
100% whole grain flour
100% 90℉ water
Measurements to produce 280 grams of starter:
280 grams / 350% = Formula Multiplier of .8
150 x .8 = 120 grams Well-Fermented Starter
100 x .8 = 80 grams Whole Grain Flour
100 x .8 = 80 grams 90F Water
Take 120 grams of well-fermented starter (8-12 hours old) and mix with 80 grams of 90℉ water and 80 grams of whole grain flour. This will produce 280 grams of starter, giving you the 66 grams you need for your dough, plus plenty leftover to perpetuate your culture. Leave in a warm spot for 45 to 60 minutes.
Step 2: Mix Your Remaining Flour and Water:
In a separate bowl, mix 297 grams of bread flour and your remaining 181 grams of 90℉ water (remember, the other 33 grams of water are coming from you starter). Make sure there are no unincorporated bits of flour. Cover and leave in a warm spot.
Step 3: Mix in Your Starter:
Forty-five to 60 minutes after mixing your starter, prepare a pint glass filled with warm water. Uncover your starter and grab a spoon. Spoon out roughly one tablespoon of starter into the water-filled pint glass. If your starter floats to the top, you are ready to mix it into your dough.


Take the dough from Step 2 and mix with 66 grams of starter. Squeeze the starter into the dough with your fingers and don’t hesitate to use the amount of force necessary, scraping down the bowl as needed. You may also moisten your hands lightly with warm water as necessary to avoid sticking. Continue mixing until dough is homogeneous. Cover and let stand in a warm spot for 30 minutes.


Check your dough temperature. It should be 78 to 82℉. A little higher is fine, but any lower will slow down fermentation too much. If my dough is too cold, I typically place my covered dough in the oven and turn on the oven light. It provides just the right amount of heat.

Step 4: Mix in Your Salt:
Uncover your dough and squeeze in the 6 grams of salt. Again, moistening your hand slightly will be helpful as it will help the salt dissolve. Once salt is fully incorporated, cover your dough and let stand in a spot where it will maintain its temperature at 78 to 82℉.
Step 5: First Fold:
After 30 minutes, uncover your dough and fold it. Grab the dough from one side, pull it up until you feel resistance and fold it on top of itself. Rotate the bowl 90 degrees and repeat. Rotate another 90 degrees and repeat. Rotate another 90 degrees and repeat until you have folded the dough over itself once on each side.


Step 6: Second Fold:
After another 30 minutes, uncover your dough and fold it. Repeating the method from Step 5.
Step 7: Third Fold:
After another 30 minutes, uncover your dough and fold it. Repeating the method from Step 5. Cover and let stand in a warm spot for at least another hour.
Step 8: Dividing Your Dough:
Your dough has now been fermenting for at least 3.5 hours. If it’s ready to divide, it will have increased in volume by about 50% and will feel like a puffy jacket when gently depressed with moistened fingers.

Time to grab your kitchen scale, a dough knife/bench scraper, non-stick cooking spray (Vegalene preferred), a baking sheet and plastic wrap.
Gently remove your dough from the bowl onto a clean, flat surface. Divide your dough roughly in half and weigh one half to ensure that it is roughly 275 grams. If you need to borrow dough from the other half or remove some dough, that’s fine. Weigh your other chunk of dough to make sure it is also roughly 275 grams.


Using your dough knife and your free hand gently pull the dough toward you, rotating the dough as you go, until you’ve formed a tight ball. I prefer not to use any flour when dividing drier doughs such as this one, but if yours feels too sticky, then a light dusting isn’t prohibited.

Leave your balled dough on the counter for a moment to allow its seams to seal and spray your baking sheet with non-stick spray. Gently place your dough balls seam-side down on your baking sheet. Give the tops of your dough balls a light coating of non-stick spray and cover gently with plastic wrap.


Step 9: Proofing Your Dough:
This is where you have options. You can either leave your covered dough out to proof (rise again) at room temperature for 2 to 3 hours or you can place your covered dough in the refrigerator for 1 to 2 days.
If you leave your dough out to proof at room temperature, make sure you get your oven hot in time. When your dough is ready to use, it will have increased another 50% or so in volume and will feel tight and gassy when gently tapped with moistened fingers.
If you leave your dough to proof in the refrigerator for at least 24 hours, remove it from the fridge when you turn on your oven and it should be good to go once your oven is nice and hot after an hour or so.

Step 10: Shape, Top and Bake:
Describing the process of dough shaping in prose is nowhere near as useful as watching a tutorial video. Just search “shaping pizza dough” and the internet should take good care of you. Once shaped and on your well-floured peel, slide your pizza onto the steel and use the baking times and method appropriate to the broiler placement in your oven as described in the article.


Step 11: Slice and Enjoy:
Using scissors or a pizza wheel, cut your pizza into 4 slices and feast.
Parting Reminders
There is no substitute for a healthy, active starter. Treat your starter like a pet. Keep it comfortable. Keep it well fed.
The single parameter that has the greatest effect on the speed of fermentation is temperature. Too cold and your dough will take forever to rise. Too warm and your dough will run away on you.
There is no such thing as failure as long as you learn something. Pay attention to process and develop feel. Remember what your starter and dough look like when they produce both good and bad results.
Don’t worry if you kill your starter. It’s easy to make a new one. I’ve intentionally thrown out my starter when leaving town for extended periods of time.
The biggest mistake most home bakers make is underfermenting their dough. When starting out, if you think your dough is ready, give it another 20-30 minutes.


Our comments section is for members only.
Join today to gain exclusive access.